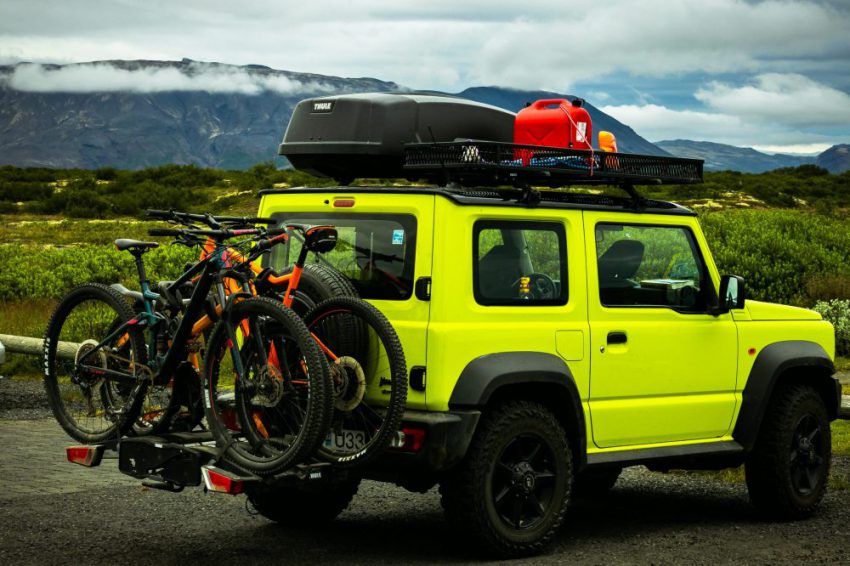
Bikes can be a great way to explore while you’re camping, on a road trip, or visiting a specific trail. But if you’re taking your own bike(s), fitting a bike rack can be a bit of a hassle.
So, to help cut down that hassle for you, here’s our handy guide on how to fit a bike rack to your vehicle.
But first, one important question…
What type of bike rack do you need?
If you’ll be opening your boot regularly, having a rear-mounted rack probably isn’t for you. Similarly, if you need a roof rack for luggage, your bike will need to go somewhere else.
Some racks are easier to attach than others. So, if you’ll only be using it now and then, looking for one you can attach (and remove) easily is well worth it.
And, if you have a particularly heavy bike, or multiple bikes, you may need to look for specific racks. Racks could have weight limits, and multi-bike racks are necessary to safely transport more than one set of wheels.
It’s also important to look at what racks your vehicle can support. So always check what your manufacturer says about your specific model before buying.
Whatever rack you end up getting, here’s how to get them on your vehicle.
Tow-mounted or towbar rack
This is one of the most common bike racks out there.
Before you get to fitting, check the maximum nose weight in your vehicle’s manual. Make sure you’ll be within any limits, then check that the towbar is nice and clean.
After unlocking the towbar, lift the bike rack platform over the towbar. You’ll want to make sure it’s level and that you tighten the fittings completely. The rack shouldn’t move if you press on it.
With towbar bike racks, you’ll also need to fit a licence plate with a lightboard outside the rack. Always make sure your plates are visible.
Rear-mounted bike rack
First off, not all vehicles are compatible with these, so always check your manufacturer’s information before buying or using this kind of rack.
Second, because of different designs, instructions can differ slightly for different vehicles / racks. But here’s a good overview.
The rack may attach to your vehicle from the back or side of the boot. Either way, make sure the straps or hooks are secure – they’ll usually hook over or under a door. A loose bike rack can be a huge risk to you and other drivers, so always double-check that the rack is fastened correctly.
If you’re travelling with multiple bikes, mount your heaviest bike closest to the vehicle. And again, always double-check that each bike is secure.
Roof-mounted bike rack
If you’re heading on a lot of adventures, a roof rack could be perfect for bikes and extra luggage storage. Just measure your vehicle’s roof to make sure the rack will fit (or check the vehicle manual).
With the provided fixings, secure the bars to the roof of your vehicle. You’ll often find this involves straps attached to the rack and a series of bolts to fasten everything to the body of the vehicle.
You might need to adjust the A-frame clamp to fit the bike properly. Make sure this is tight around the bike to hold it in place, and that both wheels are snug in the wheel tray. You can use the bolts to extend the length of the wheel tray, just make sure you tighten them again to keep it secure.
As always, check that everything is secure before you head off.
Now, to use that knowledge…
Now you’ve got your bike rack set up, it’s time to get out there. There are incredible bike trails all over the UK. If you’re stuck for ideas, try Lonely Planet’s top 10 trails.
And if you’re looking to add to your bike knowledge, historic UK brand Raleigh has some good pointers.
If we could share just one golden rule for fitting a bike rack, it’d be double-checking that it’s secure. Whether you’re strapping or bolting in, put some pressure on it and check that it doesn’t move. Just like wearing your helmet, it’s always best to be safe.
This blog post provides a comprehensive guide on fitting a bike rack to your vehicle, with detailed steps and considerations for a successful setup. It’s a must-read for anyone looking to safely transport their bikes!
thank you, very useful!